
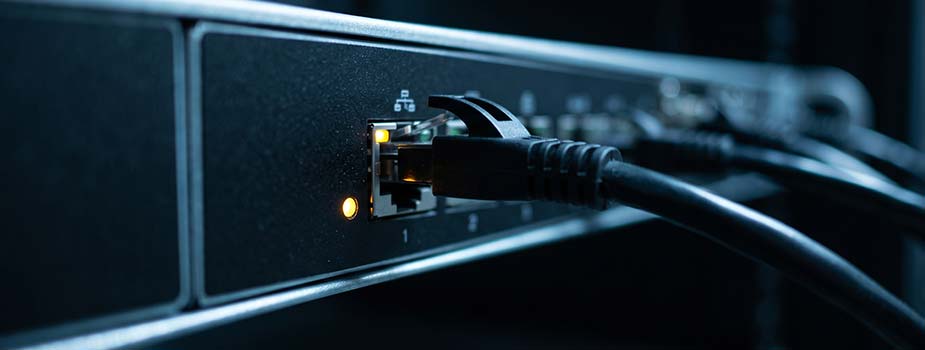

This weekend I set out to move the IPMI of my lab Nutanix node onto my management segment. I changed the card’s address and the switch port’s VLAN profile within the same minute. The node had just been wiped, it had no operating system left, so there was no way to fix anything from the inside, and the card vanished from the network.
What gave me back the controls came down to an IPv6 link-local address and two commands, a quarter of an hour all told. Here is the method, on Windows 11 and on Rocky Linux.
The evening my IPMI vanished from the network
Two changes in the same minute left me no way of telling which one had broken what. I plugged a laptop straight into the dedicated IPMI port of this Supermicro SYS-5019D-4C-FN8TP to get back in.
On a running node, ipmitool locally settles that kind of blunder in a single command through the KCS interface, without going anywhere near the network, but a freshly wiped server closes that door. If you are in the opposite situation, with the card reachable and the password lost, I covered that case here: lost IPMI password on a Nutanix or Supermicro node.
Why link-local answers when IPv4 stays silent
Every active IPv6 interface carries an address starting with fe80::, which it builds on its own from its MAC and without DHCP. A machine whose IPv4 is wrong or missing therefore keeps a reachable identity on its segment. The ff02::1 address is the all-nodes multicast group: a ping to that group makes everything living at the end of the cable answer, and an IPMI powered in standby answers even with the server switched off. Multicast does not cross a router, so you do have to sit on the same segment as the card.
One detail settles the case for this method, which I only saw later while reading back my card’s configuration on firmware 01.74.13: the line “ARP Responses Enabled, Gratuitous ARP Disabled”. The IPMI never announces itself on the network, so listening passively on the segment gets you nowhere.
Finding the card on the cable
The principle is the same on both systems: identify the interface, send the multicast, read the neighbour cache.
On Windows 11
- Spotting the adapter and its index:
Get-NetAdapterThe ifIndex column gives you the number to reuse afterwards, index 3 in my case.
On a direct link there is no DHCP server at all, and an interface left on automatic falls back to APIPA on 169.254.x.x, in which case nothing will ever ping, even against an IPMI in perfect health. Set a static address:
New-NetIPAddress -InterfaceAlias "Ethernet" -IPAddress 192.168.10.50 -PrefixLength 24- Sending the multicast, with the interface index as the zone suffix:
ping -6 ff02::1%3- Reading the discovered neighbours, with their MAC address:
Get-NetNeighbor -InterfaceIndex 3On Rocky Linux
- Identifying the interface:
ip link show- Sending the multicast:
ping6 -c4 ff02::1%ens0- Command output:
PING ff02::1%ens0(ff02::1%ens0) 56 data bytes
64 bytes from fe80:0:0:0:225:90ff:feb8:f313%ens0: icmp_seq=1 ttl=64 time=0.659 ms
64 bytes from fe80:0:0:0:225:90ff:feb8:f313%ens0: icmp_seq=2 ttl=64 time=0.288 ms- Matching the addresses to their MAC:
ip -6 neigh show dev ens0One subtlety costs time when you move from one system to the other: the zone suffix takes an interface name on Linux and a numeric index on Windows, and an address copied from one console to the other fails without any explicit message.
Reading the vendor straight from the address
When a link-local address carries ff:fe in the middle, it derives from the MAC through the EUI-64 method, and the operation reverses in your head. Drop the two ff:fe bytes from the middle of fe80::225:90ff:feb8:f313, you are left with 02:25:90:b8:f3:13, then flip the second bit of the first byte: 02 becomes 00, which is a Super Micro Computer OUI.
Opening the web interface over link-local
The address you have recovered goes straight into a browser, in square brackets and followed by its zone suffix:
https://[fe80::225:90ff:feb8:f313%3]The suffix is mandatory, a link-local address being unique only on a given segment. If your browser refuses that format, curl will at least confirm the service answers, with the % escaped as %25 and the -g option, without which the brackets are treated as globbing:
curl -k -g "https://[fe80::225:90ff:feb8:f313%25ens0]/"What the IPMI told me
Once the interface was open, the answer came down to one line on its network page: the card was carrying 192.168.10.11, when I thought I had configured 192.168.10.1. The port’s VLAN profile had nothing to do with it, and the address I had typed belongs to the machine hosting my DNS. Reconfigured on the right address, and it was back.
My management cards now live in a reserved range at the bottom of the segment, with a matching DHCP exclusion, the lab node on .1 and the production node on .2. And I have stuck to a simple rule since: one change at a time, checked before the next one.


