
Urgency and budget: Why I 3D printed my own drive adapters

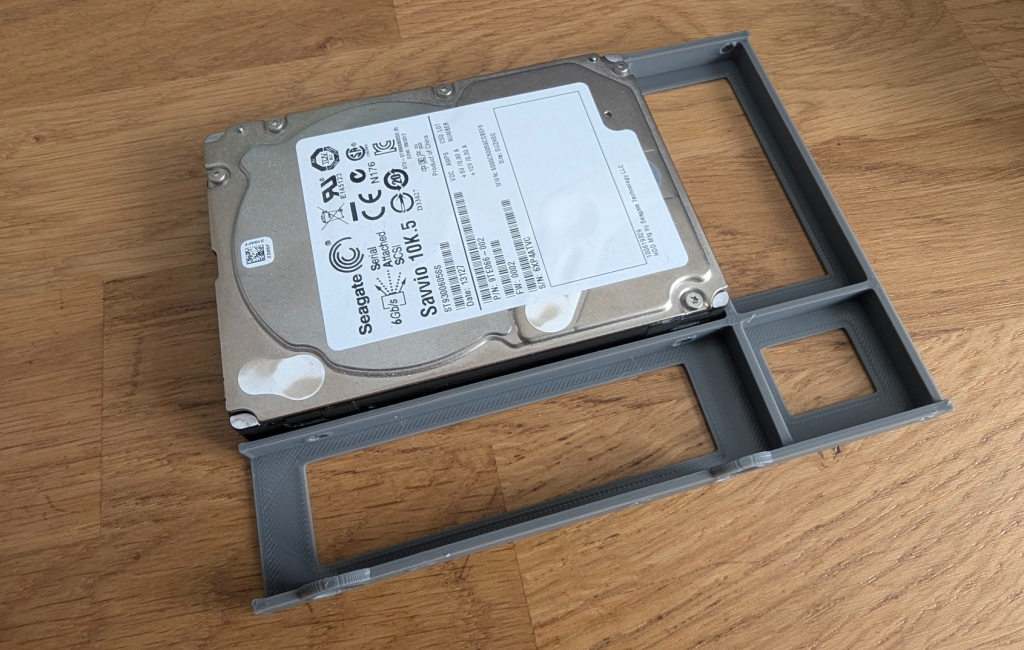
We’ve all experienced that moment of loneliness in our professional careers. The one where you’ve planned the perfect hardware upgrade for your infrastructure, but a trivial detail disrupts the whole operation. Recently, we had to replace the 3.5-inch mechanical drives in one of our 4-node clusters with 2.5-inch SSD drives. A classic maintenance operation to move from hybrid storage to full-flash and gain some IOPS.
The only problem, and a big one: the original server caddies weren’t compatible with this smaller form factor.
First approach: “official” adapters
The obvious solution when managing a pro infra? Order official adapters or replacement caddies. We needed 24 pieces in total (6 drives for each of the 4 nodes). And then, reality hit hard.
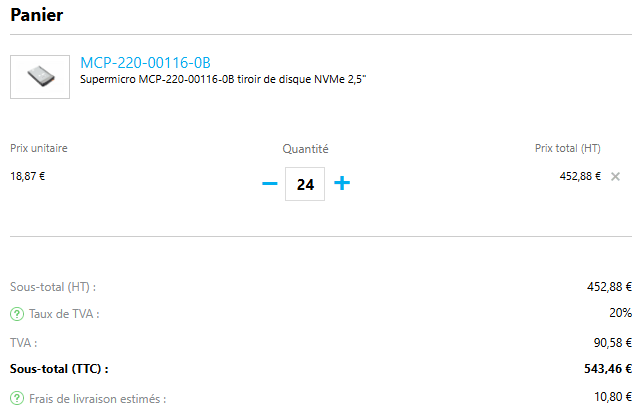
Over 500 euros (including taxes and shipping).
But the worst part wasn’t actually the price: it was the lead time. Waiting several weeks when the project had to move forward? Unthinkable. Since I refused to pay this tax and wait, my 3D printer was going to take care of it.
Plan B: the DIY solution
The advantage of having standard hardware like Supermicro is that you’re never the first to encounter a problem. No need to spend hours on Fusion 360 modeling the part to the nearest millimeter: the open-source community has probably already done it.
In a few clicks on 3D model sharing platforms (like Printables or Thingiverse), I found the perfect .stl file : https://www.thingiverse.com/thing:4353094
To ensure compatibility, I quickly printed one to validate the dimensions and make sure it did the job…
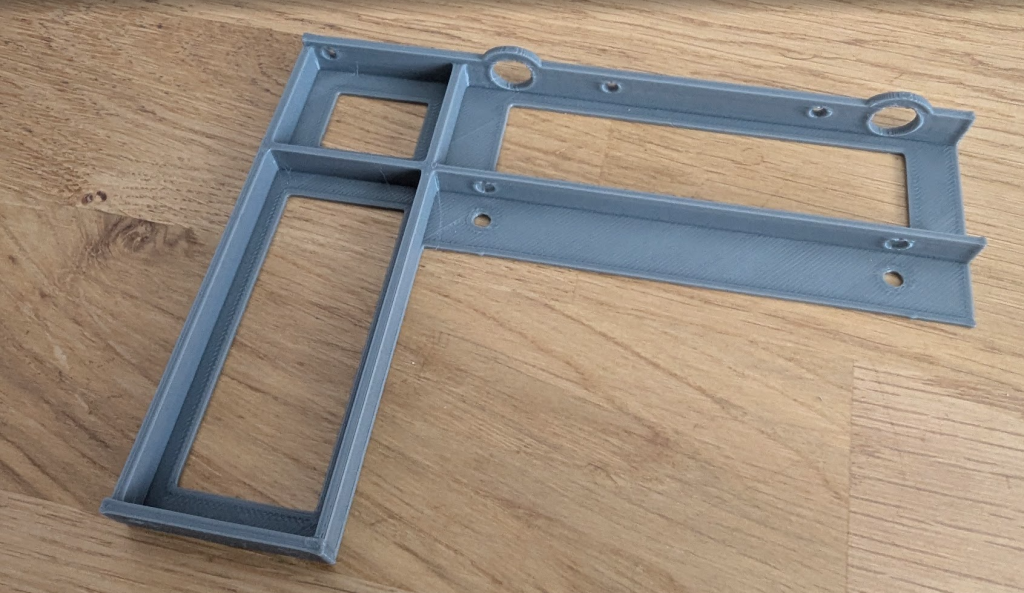
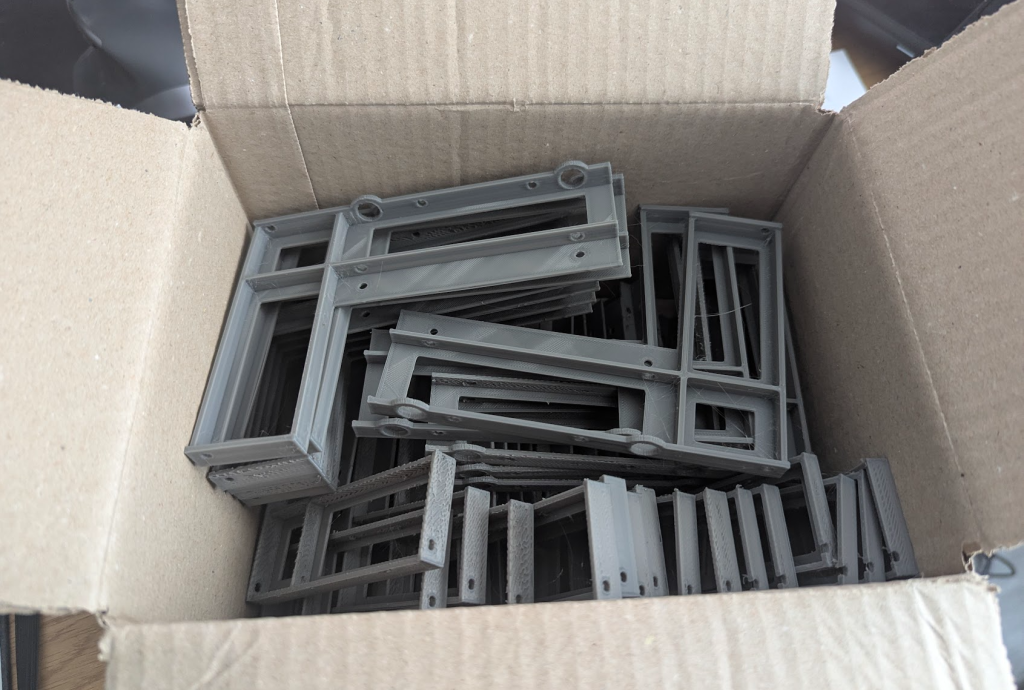
The next step: industrialization. I positioned my models so I could print 6 adapters at once. This meant leaving the printer running for about 7.5 hours for each build plate.
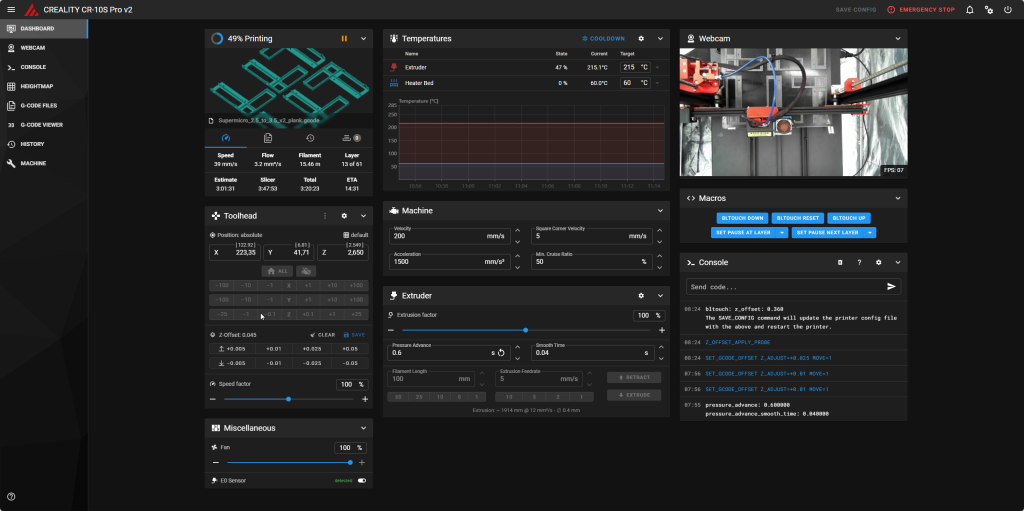
On my Creality CR-10S Pro v2 running Klipper, I was able to monitor the print job to ensure everything went as planned out of the corner of my eye while continuing to work on my projects.
Despite a slight hiccup during the first batch that forced me to do a bit of mechanical tweaking, the prints went perfectly well.
Maker Spirit for the Win!
The final verdict is clear:
- Vendor Option: ~€543 and a 3-week wait.
- Maker Option: €20 of filament, a few kWh, and two solid days of printing.
Beyond the obvious financial savings (for the price of the official adapters, we could have bought the printer + the filament), the real lesson of this adventure is that the maker mindset allows you to transform a budgetary and temporal problem into a DIY solution that is 20 times cheaper and gets the job done in ultra-short timeframes.
So, the next time a problem rears its head, think “out-of-the-box” and, if need be, whip out your finest spool of filament.
0 comments